Blog
Ombre Dresser Show 'n' Tell
Here is what the dresser looked like to start with...
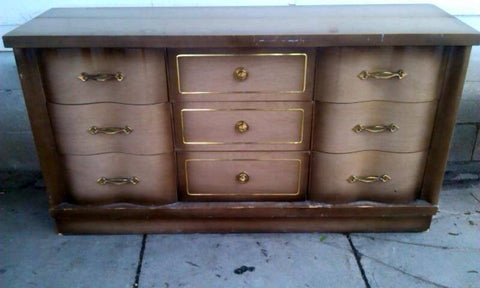
The darker edges that faded to light reminded of ombre and I knew I had to give it a try! And I gotta say, I LOVE how it turned out!
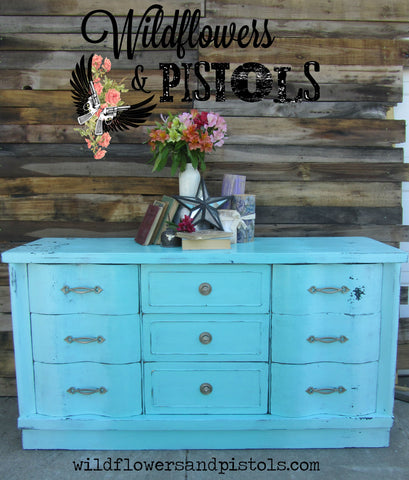
I used our Wildflowers & Pistols Milk Paint Base with No Pigment with an acrylic paint added in. To lighten the color I just added in some of our Priscilla color (bright white).

Even if you add in an acrylic paint to your milk paint base it can still crackle and chip! So, you can make ANY color of milk paint while still getting all the awesome characteristics of milk paint!
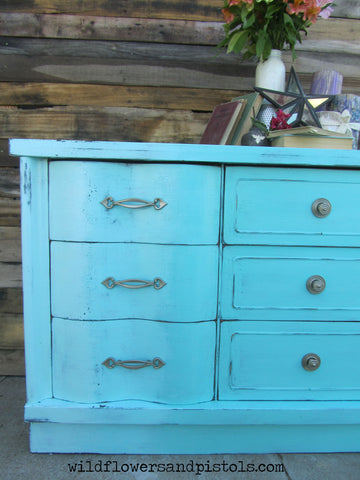
II updated the hardware using Rustoleums Rosemary paint. It's so pretty! Similar to a rose gold color. :)

Check out all that amazing crackle I got on this piece!!
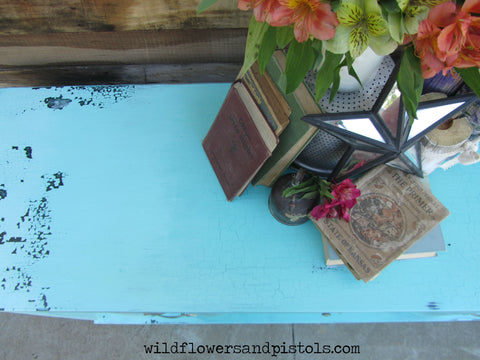
And not to mention all of that chipping!!

I'm seriously crushing over this ombre look! I love how the color fades!


I love this color so much!!
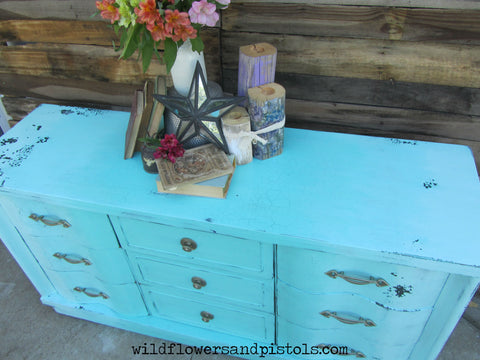
The colors remind me of the beach! This one is definitely going on my list of all time fave pieces that I've done! I love it so much! I hope you enjoy it and that it gets you inspired to create something fun and beautiful! :)
xo

Kitchen Table turned Sofa Table

Hey y'all! As promised, I have made this blog showing how I took an ordinary kitchen table and turned it into a sofa table. This was SO much fun to make!
Here is what the table looked like before -

It wasn't anything fancy. The table top was laminate and it slid apart to make the table bigger but it was missing the extra leaf. I had this table for over a year and I didn't really like it and I was lacking motivation and inspiration to redo it. Then, it just hit me! (you know.. about a year after picking it up ;) ) I decided I wanted to make this into a sofa table. So, here's what I did...
First, I removed the top. I just flipped it upside down and removed all of the screws that attached the table top to the base. Once I did that this is what it looked like..

This is obviously just a picture of one side of the tables base. But, this was now going to be the base for my sofa table. I just had to make a few modifications :)

I decided how deep I wanted the sofa table to be and I cut out the excess. In the picture above you can see that I just cut out a piece in the middle between both table legs. I repeated this same step on the other side of the tables base cutting and removing the same size of piece. I just used a hand saw to cut the wood.
Now, it was time to put each side back together!

I removed the excess piece. I held onto it because I was going to use it for the next step. I never waste any wood scraps ;) - I grabbed my wood glue and glued it back together. To hold it in place I clamped it together tightly. I let the glue dry. By this point it was getting late so I just left it like this over night.
The next morning I grabbed those two pieces of excess wood and...

I used the excess wood to help stabilize each side that I had cut and glued. I screwed it onto each new side of the tables base in the middle between each leg.
To cover the seem..
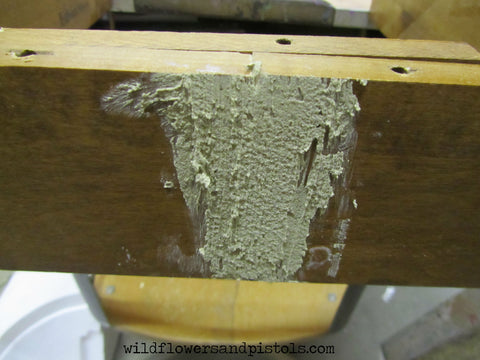
I used wood filler to help give each side a seamless look. Once the wood filler was dry I sanded it until it was completely smooth.
Now, I needed to attach the two base pieces together as one..

I cut two pieces of 1"x2"s and then screwed them to either side of the base to help stabilize and connect the base back together. (Also- I glued each base piece before attaching the 1"x2" boards then to cover the seem I applied wood filler. Then sanded smooth once dry.) The table was very sturdy!
Now, it needed a new top!

I screwed down 3 boards of reclaimed wood. I ended up not having to cut or modify any of the 3 boards (amazingly enough!) After screwing each board down attaching it to the base I sanded each board until it was smooth. Then I stained them using a dark walnut color. I decided I wanted the wood to resemble barn wood so I grabbed some W&P Milk Paint- Pearl and I dry brushed it onto each board. Next, I painted the base! I decided to use a custom mix of W&P Milk Paint to create a unique color. This new paint color will be released very soon!!! :D
Here's what the final product looks like!

Isn't this color awesome!? It's kind of like a sea foam color with a hint of gray. I wish everyone could see this piece and color in person! These pics just don't do it justice!
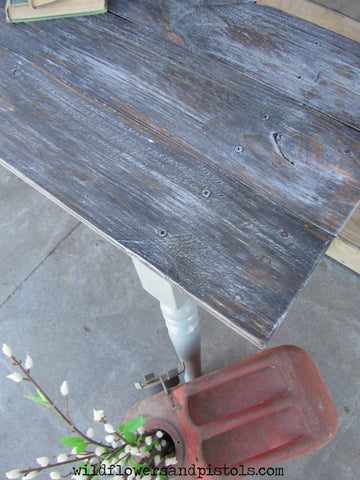
I am SO happy with how the new table top turned out! (I'll be writing a blog tutorial on how I did it sometime soon!)


And just for good measure here's a side by side before and after pic :)

I hope y'all love this as much as I do! But, what I hope even more is that this will inspire you to create something beautiful and help give you the confidence to get started! :)
~Heather
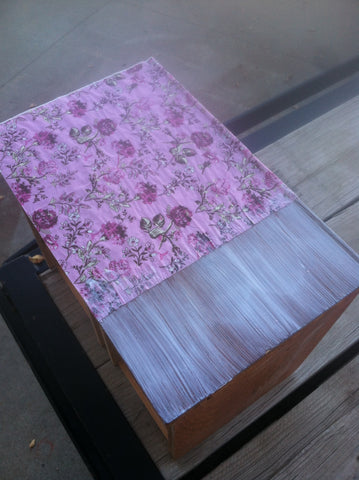
How to use Mod Podge & Napkins on Furniture





Heather


